


A fun way to practice coding is to experiment with visual effects and drawing tools. One such tool is Javascript's Canvas API. I'd like to share with you how I use the Canvas API to generate interesting random patterns.
Read on to learn how to use the Canvas API. You might also learn something about creating interesting graphics on your computer. What I'd also love you to take away from this post is this: Coding to me is about more than creating web applications. It gives you the tools to explore a multitude of interesting worlds. The best way to practice your craft is to do something you enjoy. I might spend a couple of hours of graphics coding and along the way I discover new areas of mathematics or different ways to manipulate geometries in Javascript. You never know where you end up.
In any case, let's get started with the Canvas API!
The HTML Canvas Tag
At the heart of the Canvas API is the HTML <canvas> tag. It provides a drawing surface which we can use to create our images.
There are many Javascript libraries out there that help with using the Canvas API. I find that the built-in API itself is straightforward to use and there is no real need for a helper library.
To get started all you need is an HTML document with a <canvas> tag. Give it an ID attribute so that you can access it from your code:
<canvas id="drawing"></canvas>
<script>
  // your drawing code will go here
</script>
The Canvas Drawing Context
To draw shapes and graphics you need what is called a 'drawing context'. The context is a Javascript object. You use its properties and methods to draw shapes, set fill colours, set line width, etc.
You retrieve the context as follows:
<canvas id="drawing"></canvas>
<script>
  const canvas = document.getElementById("drawing");
  const ctx = canvas.getContext("2d");
</script>
These two lines form the beginning of all your Javascript drawing experiments.
Typescript
If you're using Typescript you will need to type the canvas element as an HTMLCanvasElement:
const canvas = document.getElementById("drawing") as HTMLCanvasElement;
const ctx = canvas.getContext("2d");
While I prefer to use Typescript, this post will use Javascript because I don't want the extra tooling distract from the content. If you're interested in a simple setup for using Typescript with the Canvas API, take a look at how I use Typescript in Vanilla JS projects. Everything else shown below will still apply.
Width and Height
By default the canvas element will have a width of 300px and a height of 150px. You can keep these, or you can set your own dimensions.
I like to control the width and height as I will often perform calculations with them. For example I might want to place a shape in the centre of the canvas, or divide the available space into a grid.
So my code usually starts like this:
<canvas id="drawing"></canvas>
<script>
  const w = 800;
  const h = 400;

  const canvas = document.getElementById("drawing");
  canvas.width = w;
  canvas.height = h;

  const ctx = canvas.getContext("2d");
</script>
You can also resize the canvas to fill the browser window:
const w = window.innerWidth;
const h = window.innerHeight;

const canvas = document.getElementById("drawing");
canvas.width = w;
canvas.height = h;
Basic Drawing Methods
Before I jump into randomised patterns I'd like to show you some basic drawing methods. This isn't meant as a full tutorial, more to give you a rough understanding of how canvas drawing works in practice.
All drawing takes place via properties and methods on the drawing context.
This code draws a few basic shapes:
<canvas id="drawing"></canvas>
<script>
  const w = 800;
  const h = 400;

  const canvas = document.getElementById("drawing");
  canvas.width = w;
  canvas.height = h;

  const ctx = canvas.getContext("2d");

  ctx.fillStyle = "blue";
  ctx.fillRect(0, 0, w, 200);

  ctx.fillStyle = "red";
  ctx.fillRect(0, 200, w, 200);

  ctx.lineWidth = 4;
  ctx.beginPath();
  ctx.ellipse(w/2, h/2, 150, 175, Math.PI / 4, 0, 2 * Math.PI);
  ctx.stroke();
</script>
These commands create two rectangles and an ellipse, and it ends up looking like this:
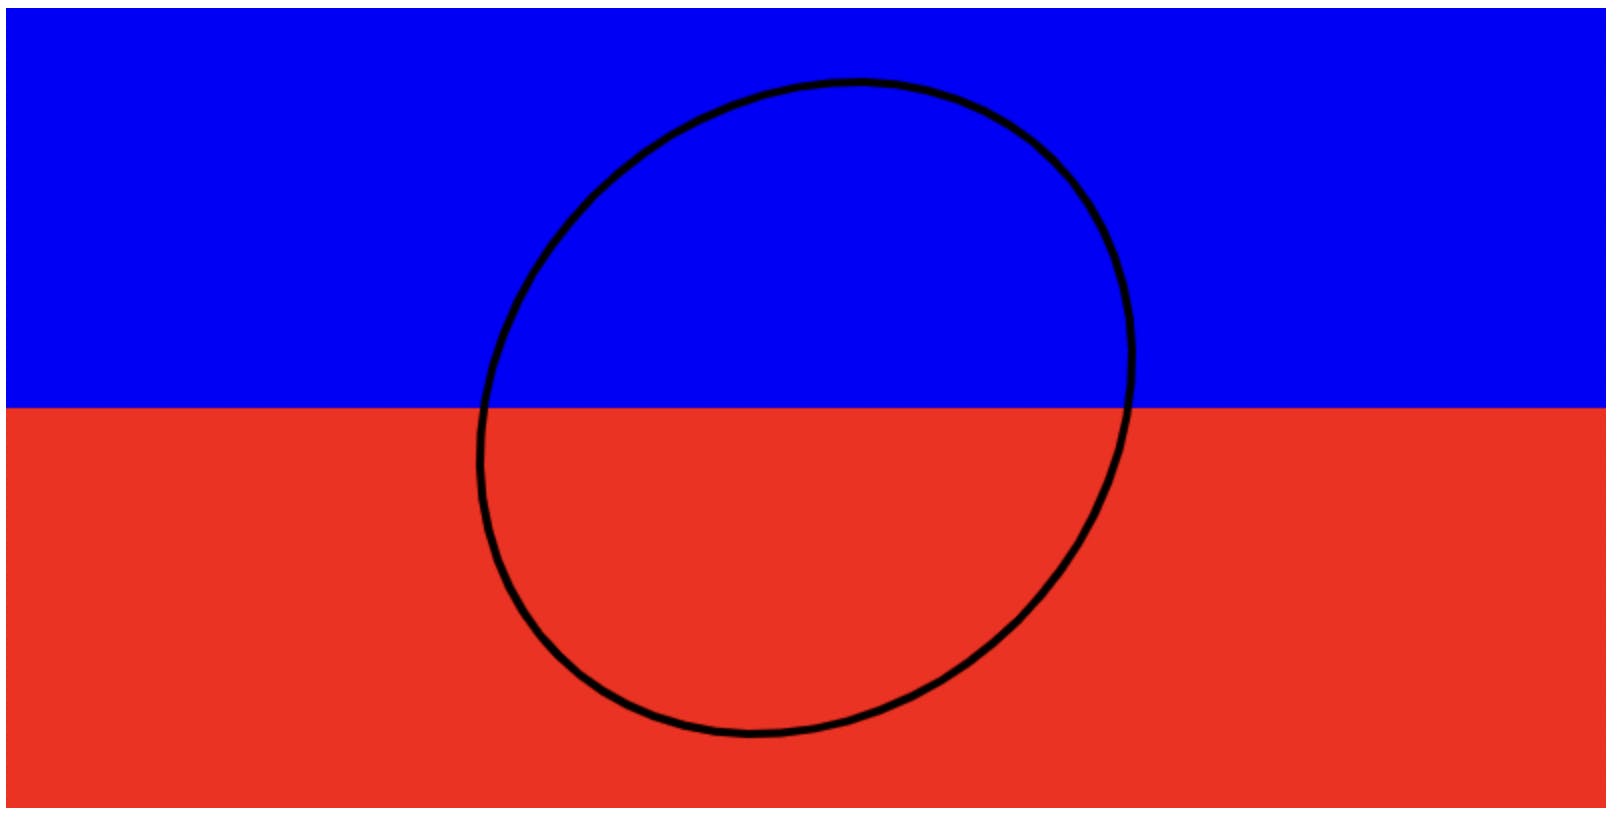
Also see how storing the width and height in variables has also paid off. It's allowed us to set the width of the rectangles to fill the entire canvas. It's also allowed us to centre the ellipse.
Randomised Patterns
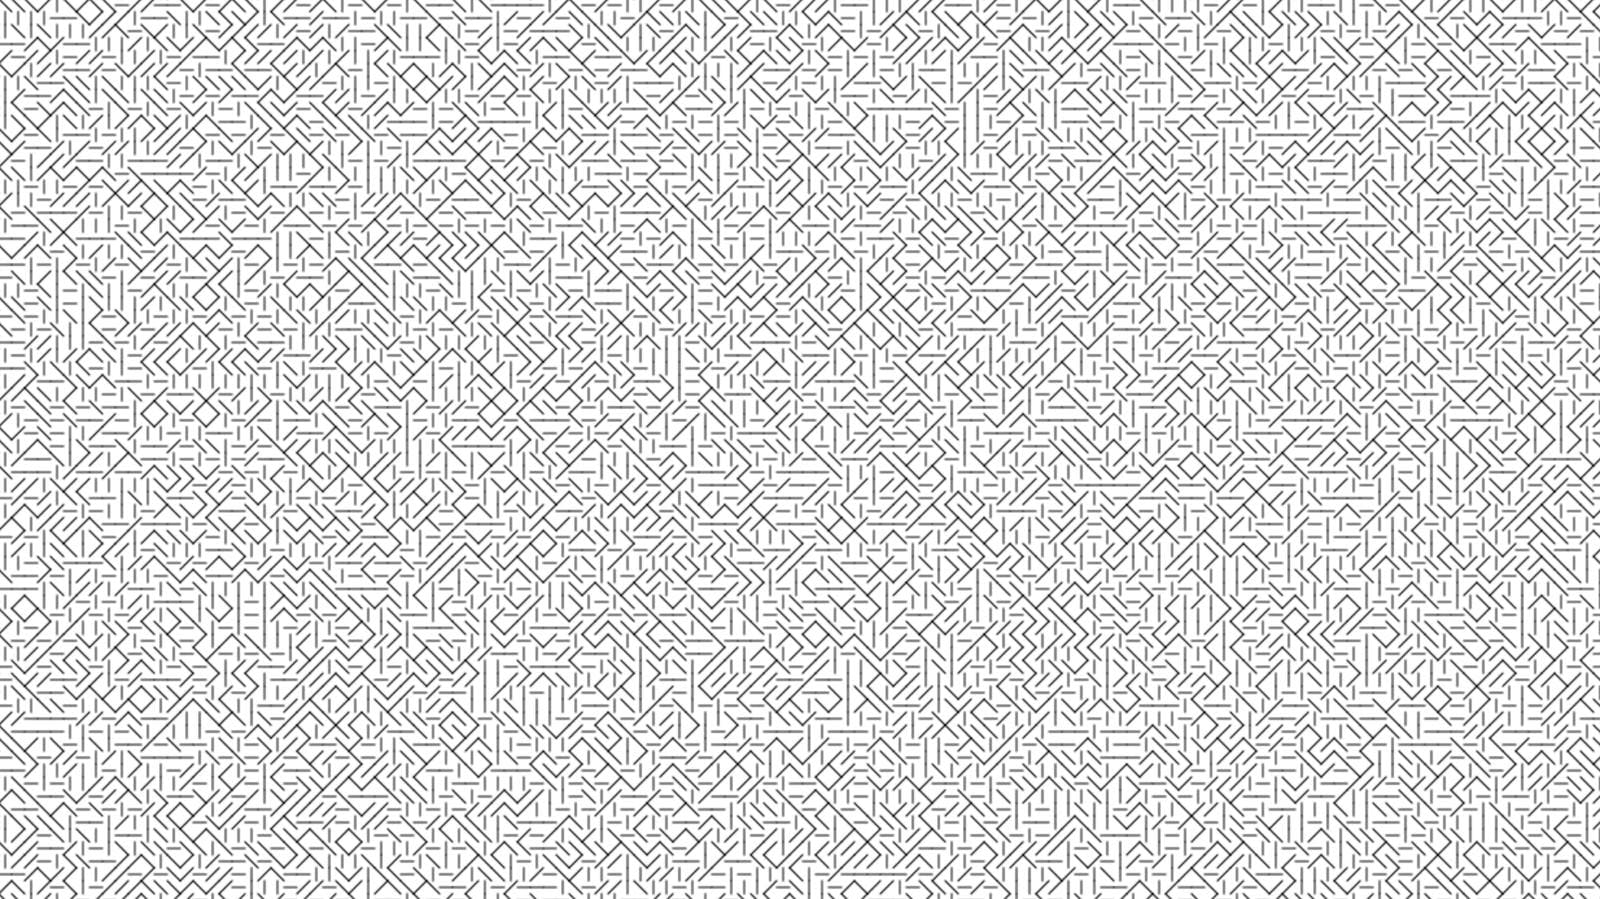
One way I like to experiment with the Canvas API is by creating randomised patterns. They can start off pretty basic, for example some lines in a grid:
By changing the way colour is applied you can end up with some pretty combinations:
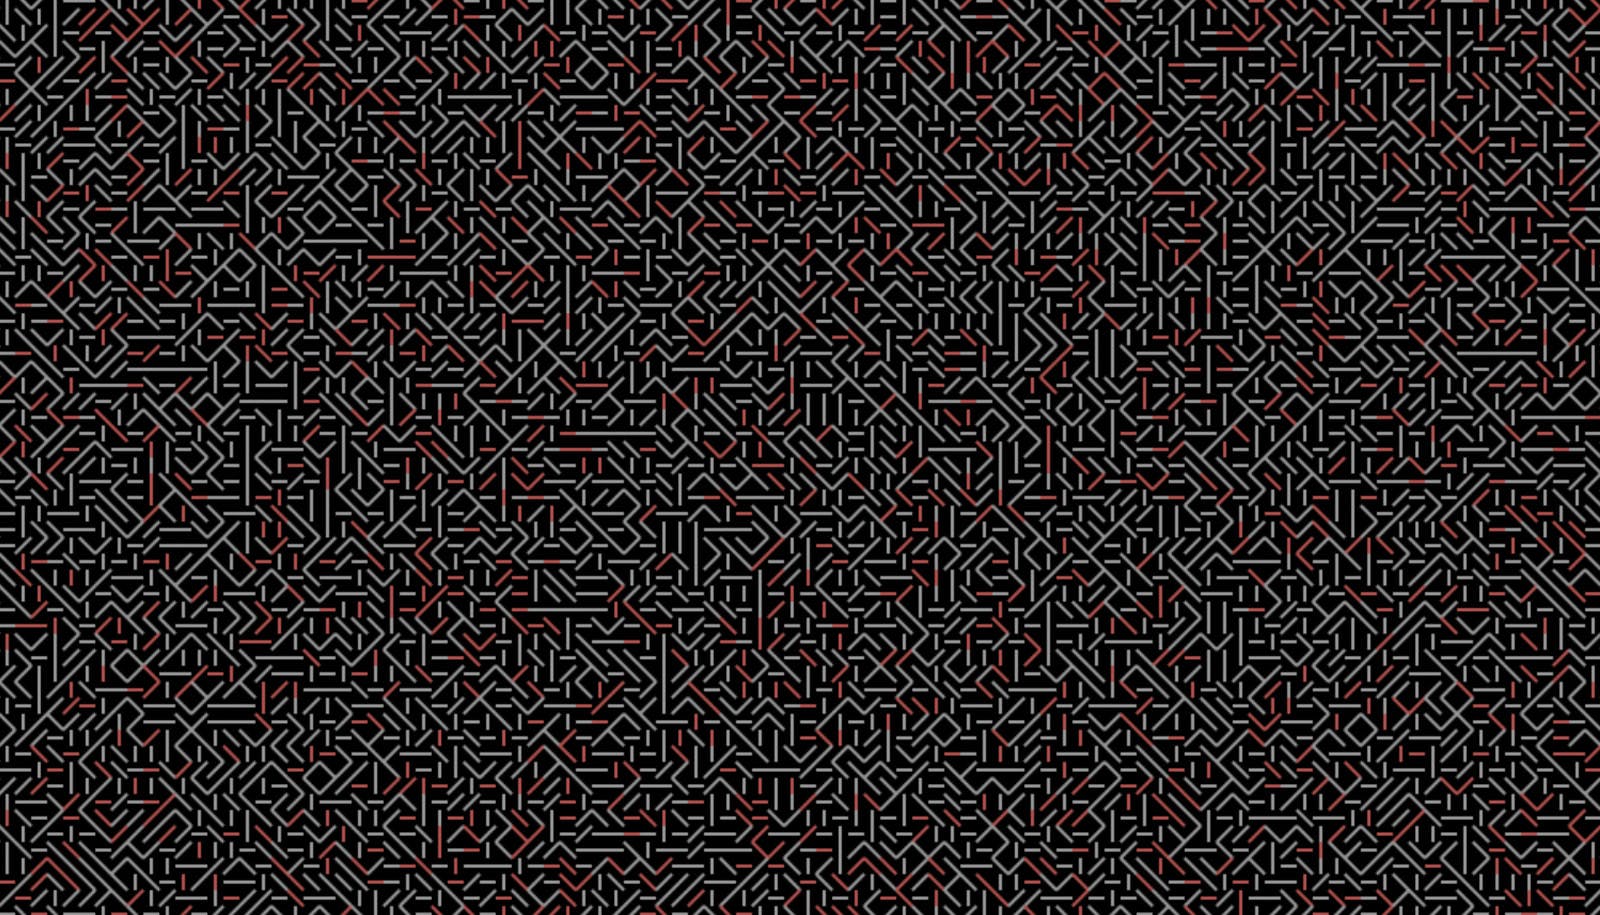
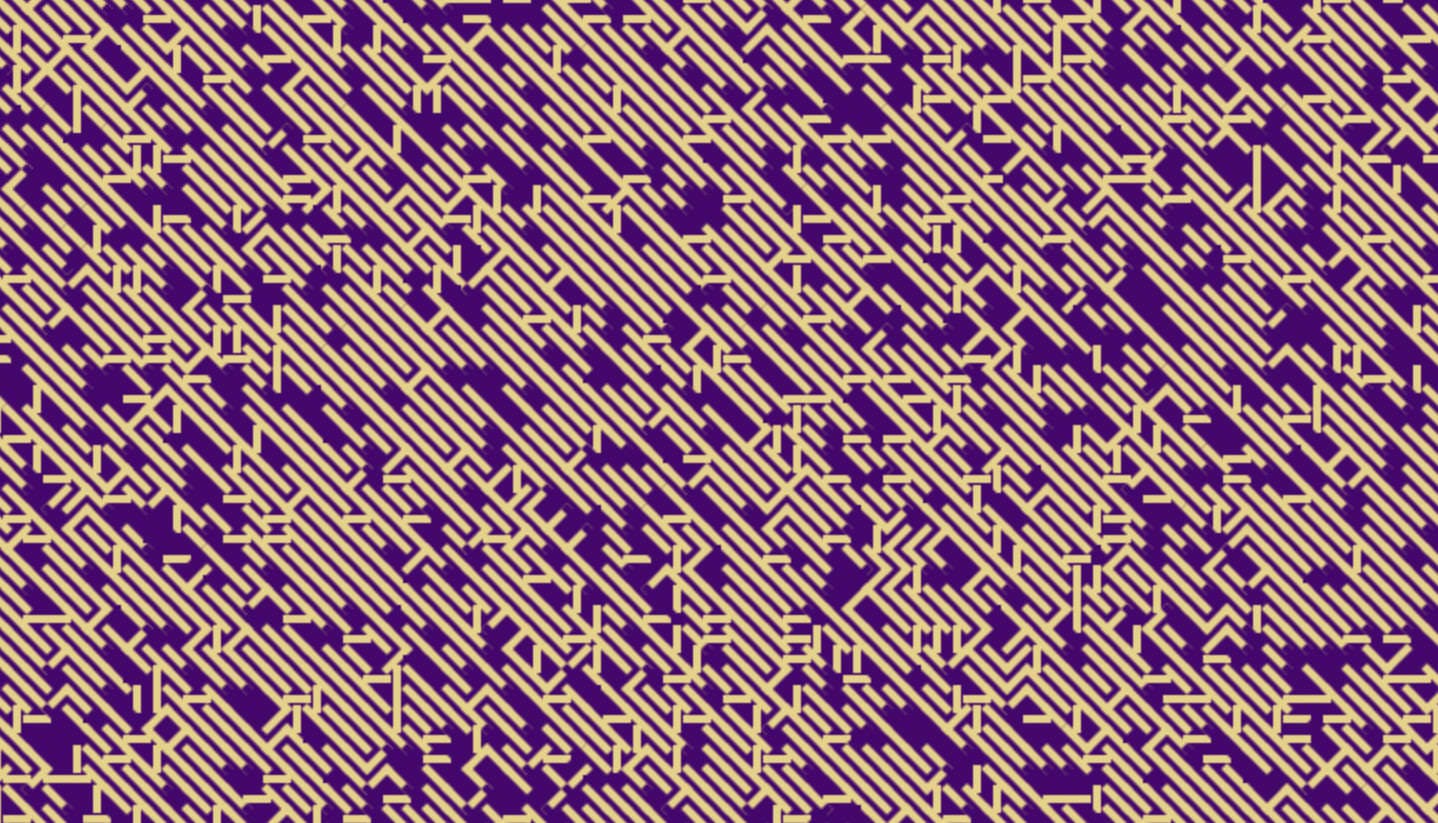
And by changing the rule set a little, along with the colours, interesting patterns start to emerge:
So how do you go about building something like this?
A Basic Grid Drawing
The basic setup is a grid - you divide your canvas area into rows and columns. For a uniform layout squares work well. You can use the size of a single square to determine how many rows and columns you will end up with:
const w = 800;
const h = 400;

const size = 10; // each square is 10 pixels wide
const columns = w / size;
const rows = h / size;
Armed with this information you can use a loop to draw individual shapes to fill up the rows and columns.
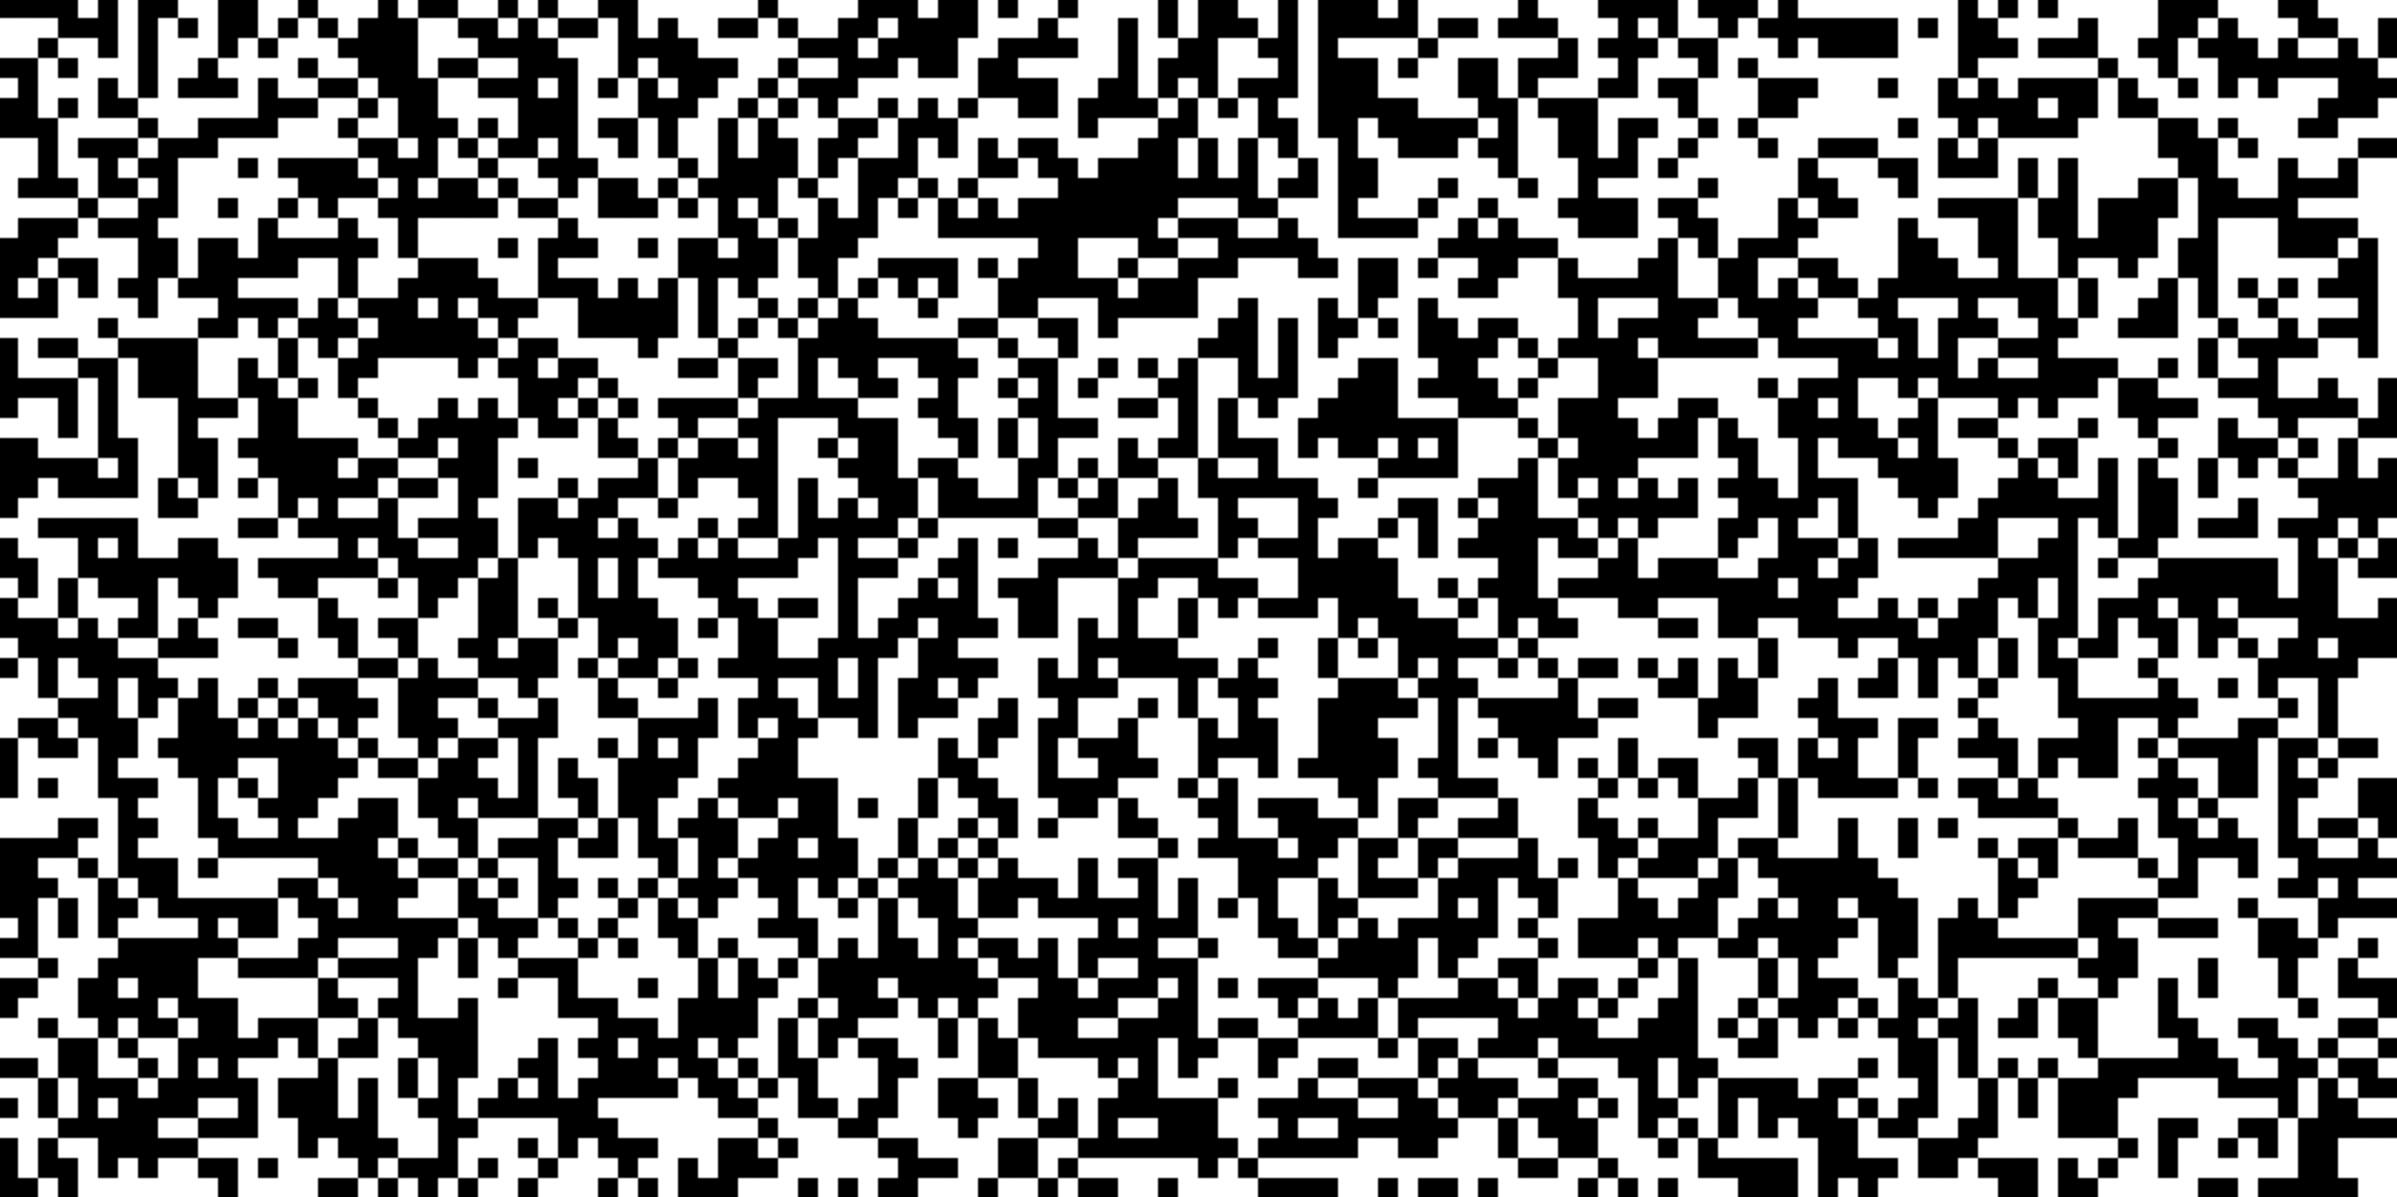
Let's start out with a grid of squares to keep things simple.
Each square will be randomly black or white.
<canvas id="drawing"></canvas>
<script>
  const w = 1200;
  const h = 600;

  const size = 10;
  const columns = w/size;
  const rows = h/size;

  const canvas = document.getElementById("drawing");
  canvas.width = w;
  canvas.height = h;

  const ctx = canvas.getContext("2d");

  for(let c=0;c<columns;c++) {
    for(let r=0;r<rows;r++) {
        // randomly choose black or white for the fill
        ctx.fillStyle = Math.random() < 0.5 ? "black" : "white";

        // draw a square that fills the current grid location
        // parameters are: x, y, width, height
        ctx.fillRect(size*c, size*r, size, size);
    }
  }
</script>
The result is a randomised pattern that looks a bit like static on a TV screen:
Iterating Your Drawing
Now comes the fun part - be creative and tweak variables to see what different results you can get.
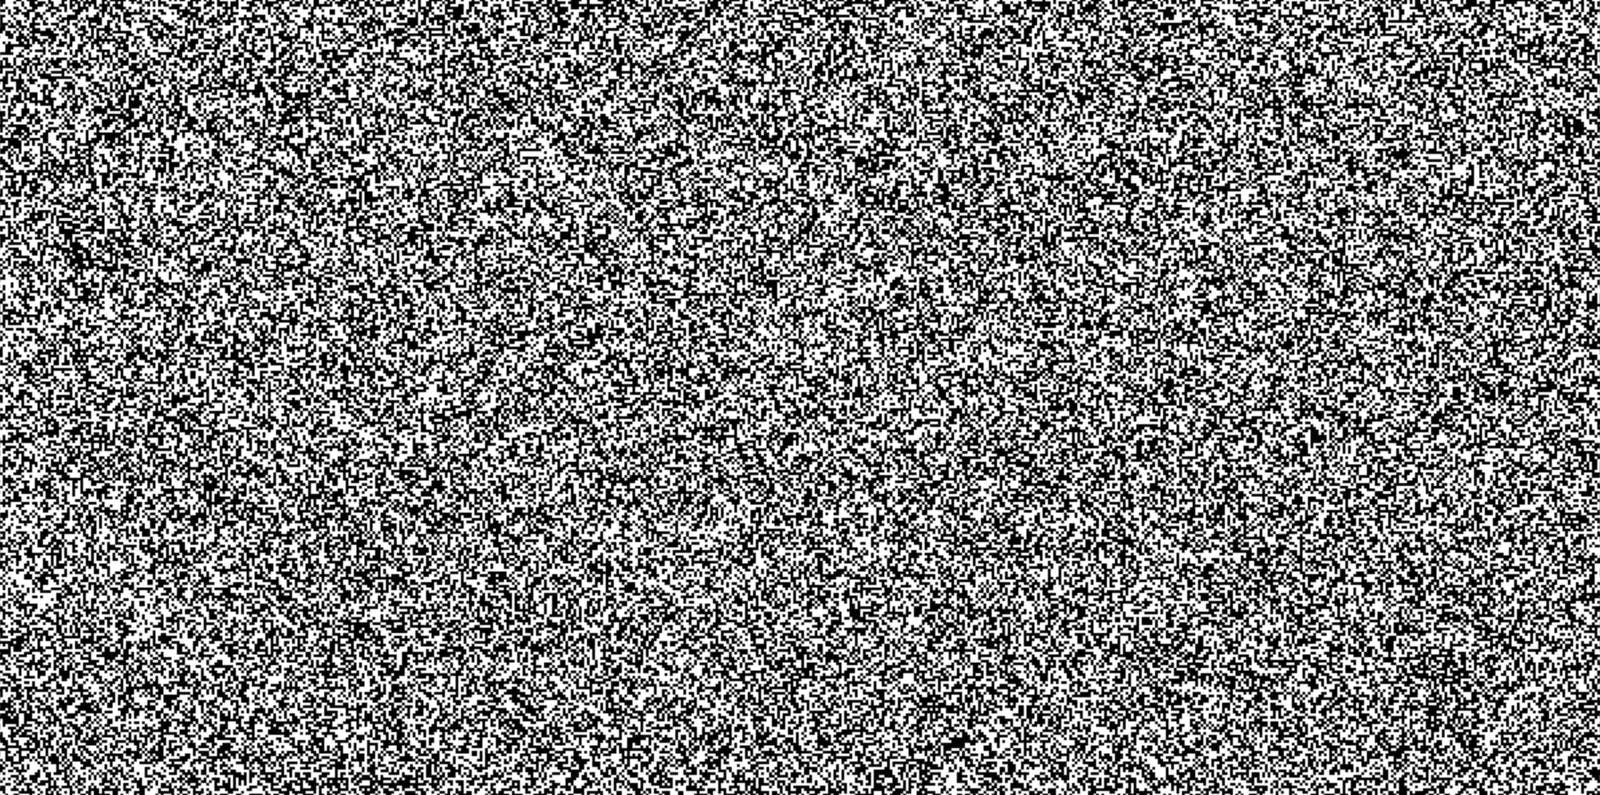
A smaller size of grid square creates a more bunched-up pattern:
const size = 2;
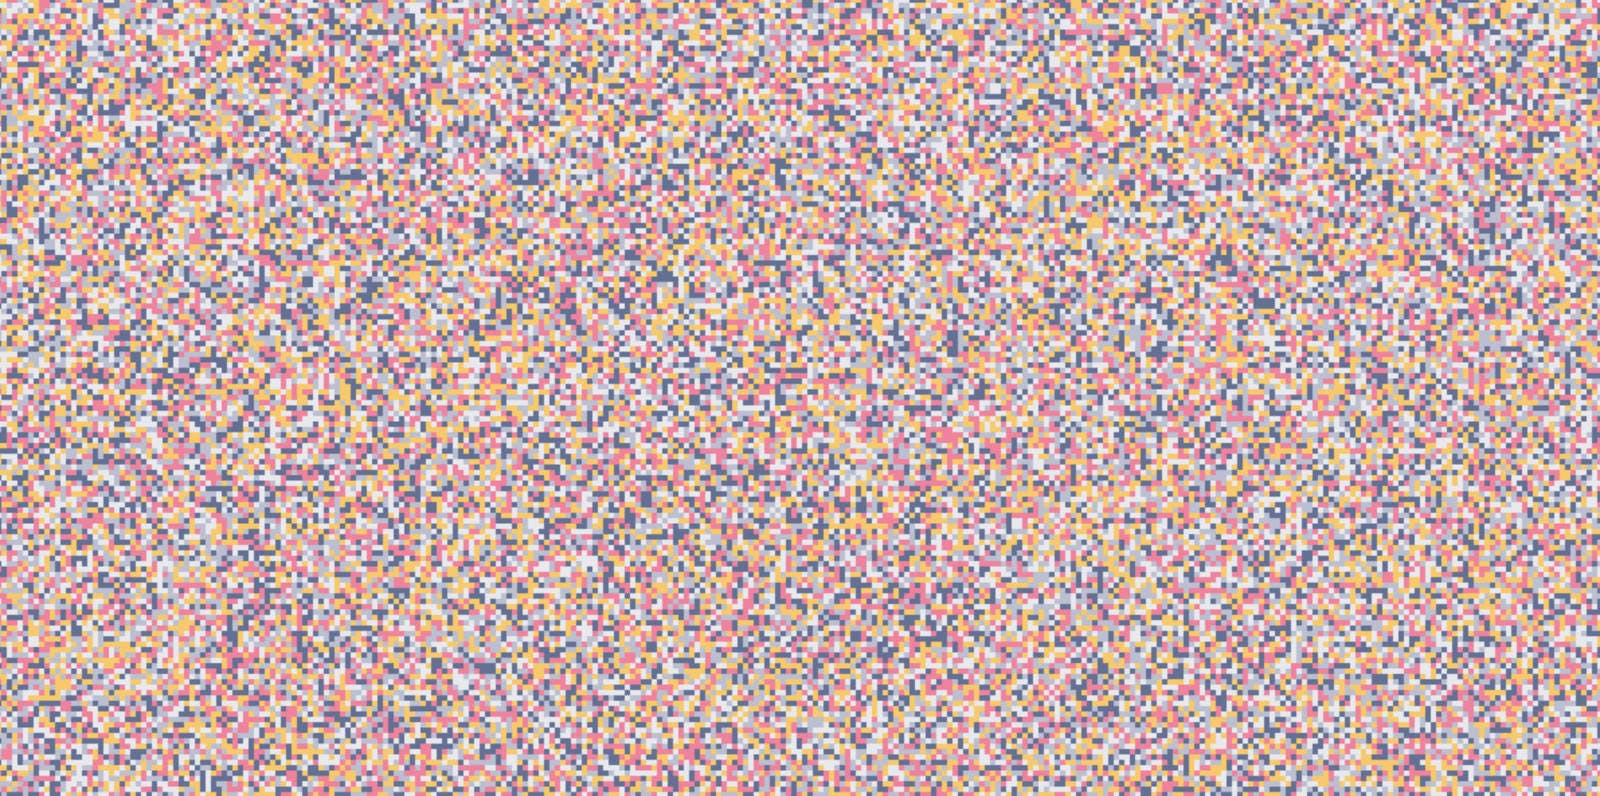
A randomised selection of colours creates an interesting effect that wouldn't look too bad hanging on your living room wall:
const size = 4;
const colours = ["#FFC759", "#FF7B9C", "#607196", "#BABFD1", "#E8E9ED"];

for (let c = 0; c < columns; c++) {
  for (let r = 0; r < rows; r++)
    ctx.fillStyle = colours[Math.floor(colours.length * Math.random())]; // select random array element
    ctx.fillRect(size * c, size * r, size, size);
  }
}
Moving beyond squares
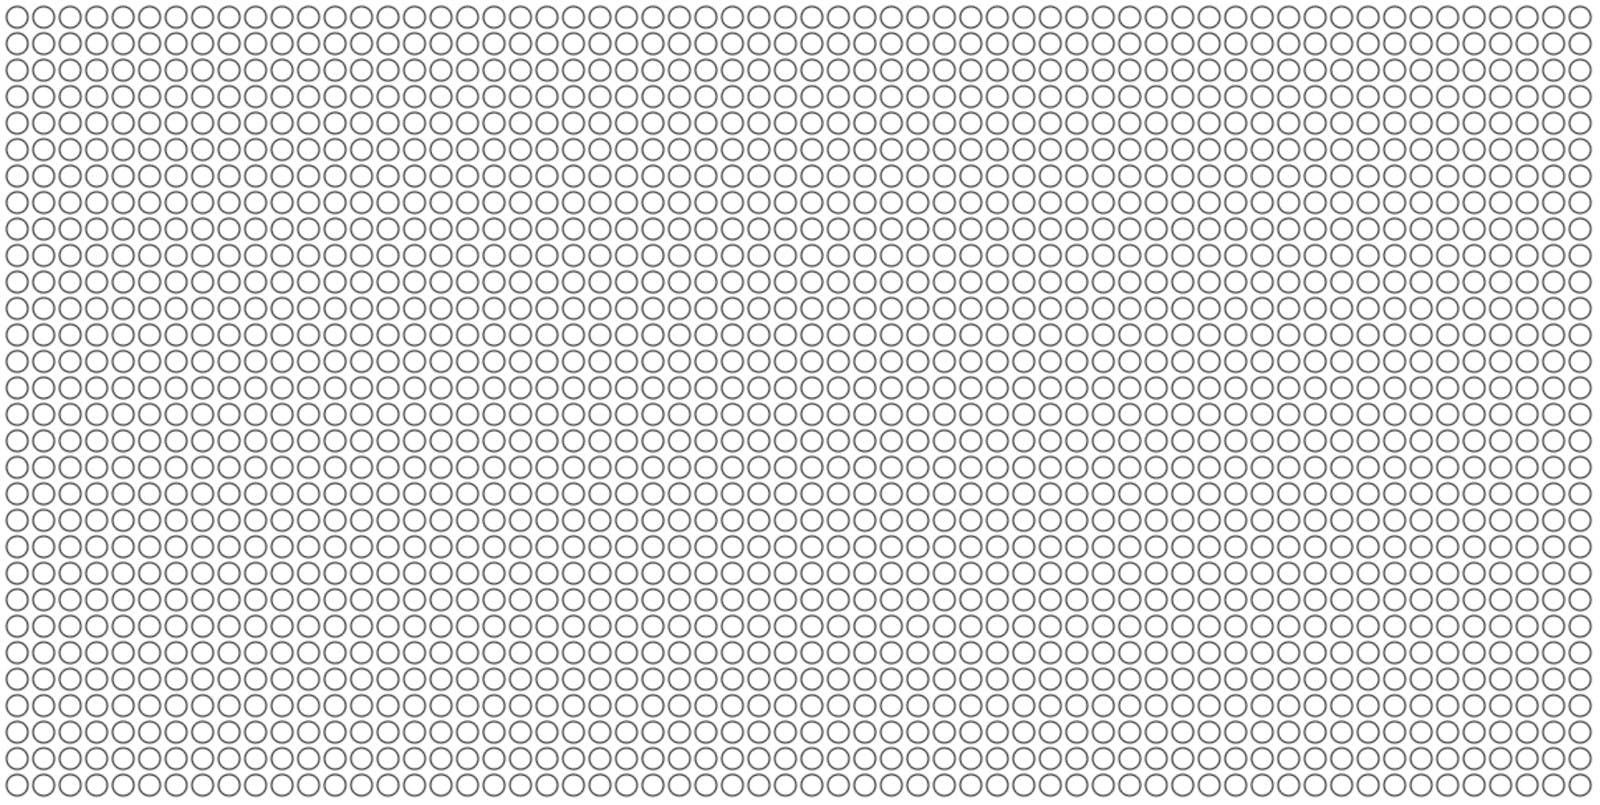
Of course you don't have to limit yourself to squares. Suppose we draw circles in each of the grid spaces instead. And instead of filling the circle, we'll just use the outline.
<canvas id="drawing"></canvas>
<script>
  const w = 1200;
  const h = 600;

  const size = 20;
  const radius = (size / 2) * 0.8; // slightly smaller than half the size

  const columns = w / size;
  const rows = h / size;

  const canvas = document.getElementById("drawing");
  canvas.width = w;
  canvas.height = h;

  const ctx = canvas.getContext("2d");

  for (let c = 0; c < columns; c++) {
    for (let r = 0; r < rows; r++) {
      ctx.beginPath();
      ctx.ellipse(
        (c + 0.5) * size, // centre of grid column
        (r + 0.5) * size, // centre of grid row
        radius,
        radius,
        0,
        0,
        2 * Math.PI
      );
      ctx.stroke();
    }
  }
</script>
This gives you a grid of circles - a great starting point for future iterations.
Let's experiment!
Interesting Overlapping Shapes
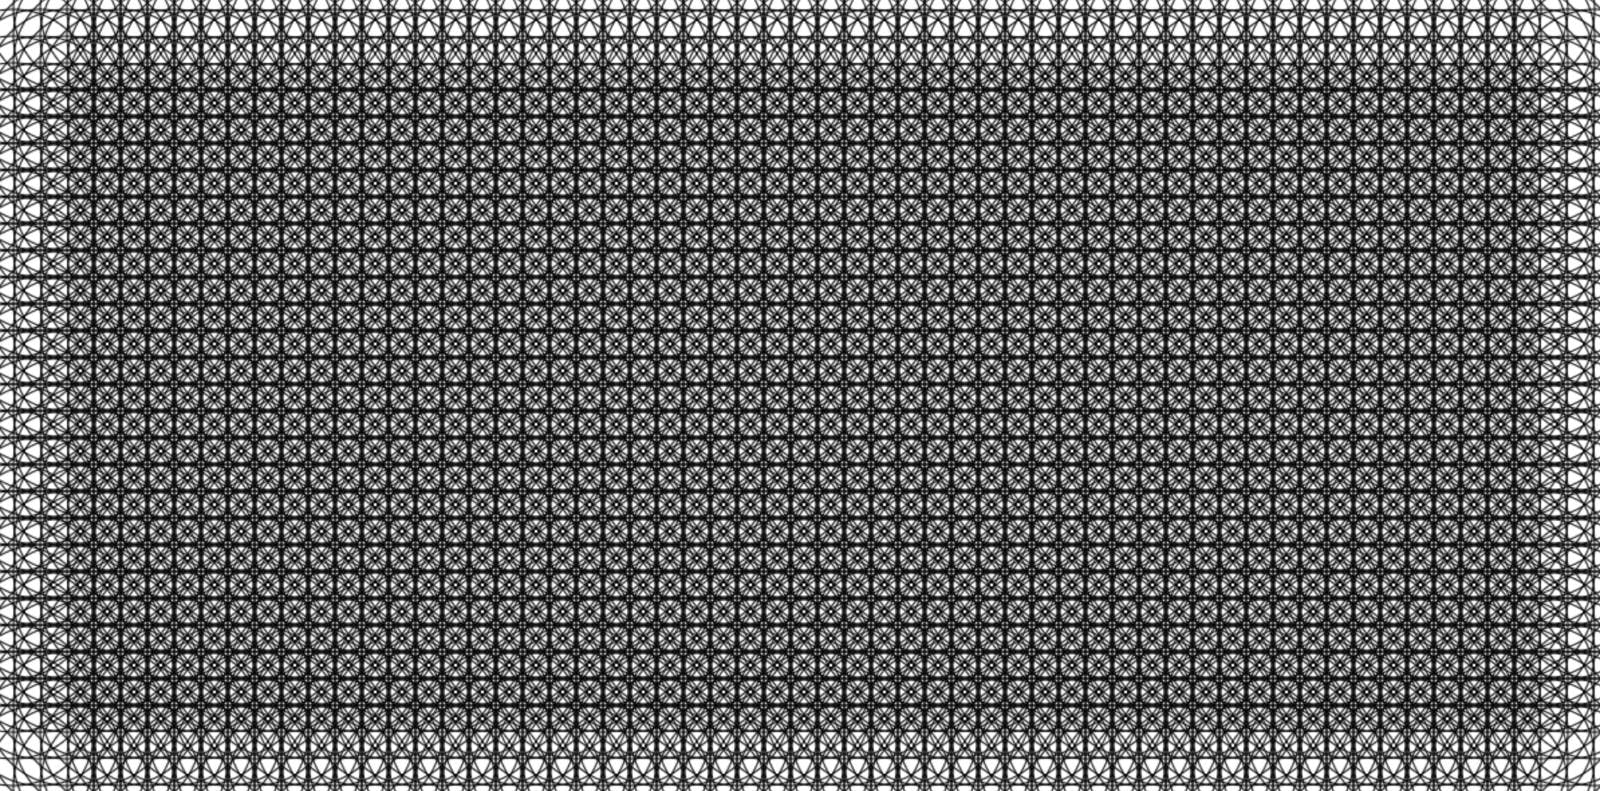
You can adjust the radius of each circle by changing a single line of code. Once the radius is larger than half the grid square size, your circles will start to overlap.
Three times the size gives an almost flower-like pattern.
const radius = 3*size;
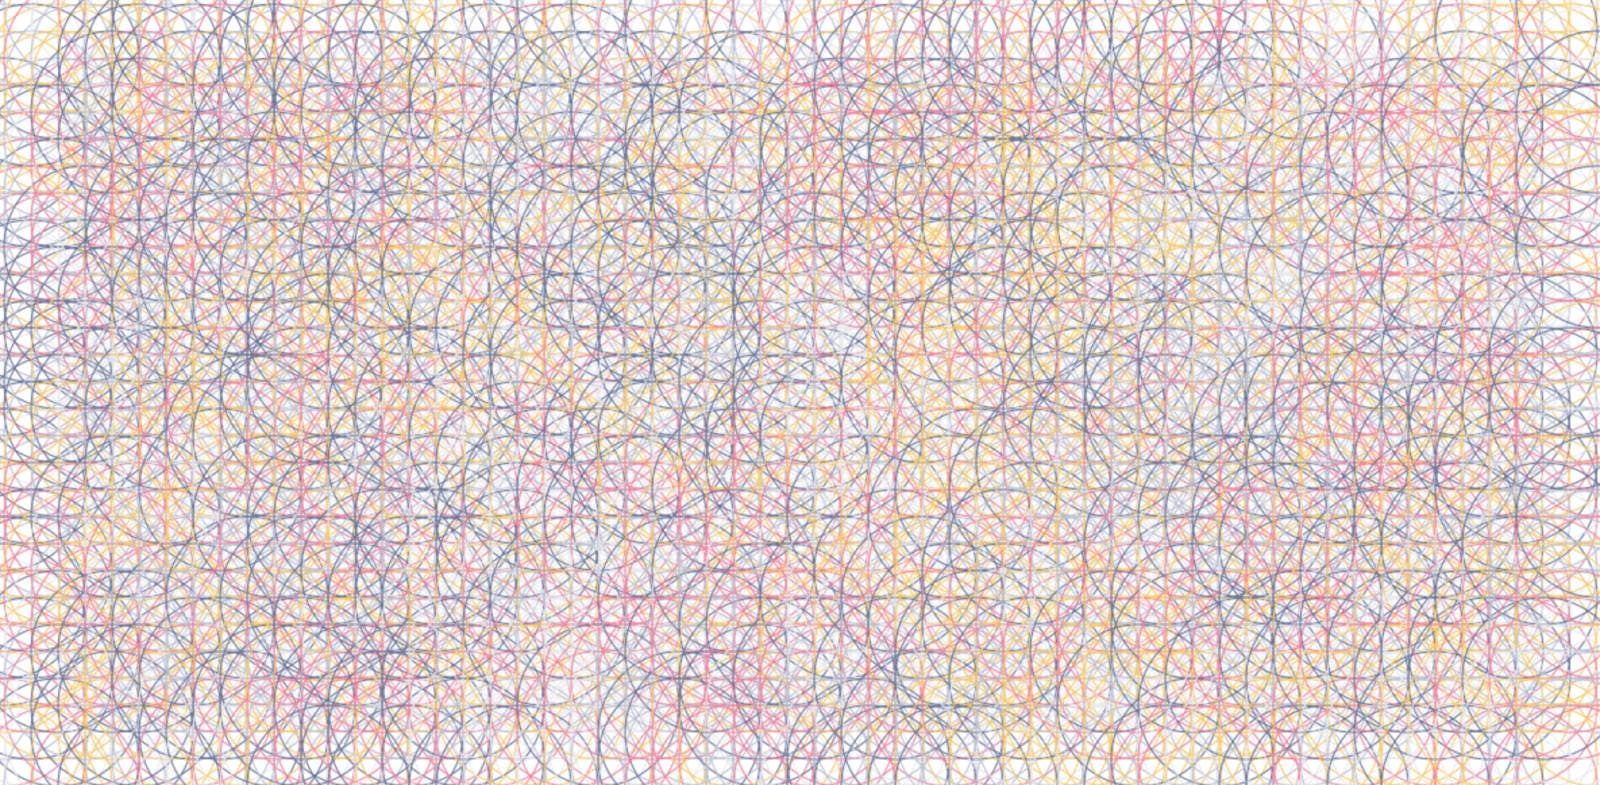
Let's bring back our randomised colours from before.
<canvas id="drawing"></canvas>
<script>
  const w = 1200;
  const h = 600;

  const size = 20;
  const radius = 3 * size;

  const columns = w / size;
  const rows = h / size;

  const canvas = document.getElementById("drawing");
  canvas.width = w;
  canvas.height = h;

  const ctx = canvas.getContext("2d");

  const colours = ["#FFC759", "#FF7B9C", "#607196", "#BABFD1", "#E8E9ED"];

  for (let c = 0; c < columns; c++) {
    for (let r = 0; r < rows; r++) {
      ctx.beginPath();
      ctx.strokeStyle = colours[Math.floor(colours.length * Math.random())];
      ctx.ellipse(
        (c + 0.5) * size, // centre of column
        (r + 0.5) * size, // centre of row
        radius,
        radius,
        0,
        0,
        2 * Math.PI
      );
      ctx.stroke();
    }
  }
</script>
The result is a beautiful colourful pattern. I love how a few simple lines of code can result in such complexity. And we're just scratching the surface with what is possible here.
Conclusion
With just a few lines of code and the Canvas API you can create interesting graphical patterns. It's a great way to be creative, experiment with code, and practice your Javascript skills at the same time.
Hopefully the above has inspired you to do a little experimenting yourself. Put on some music, break out the code editor and see where your creative spirit takes you. Share what you come up with in the comments, I'd love to see the results.